Showing posts with label DIY projects. Show all posts

Monday, June 11, 2012

Featured on Better After!!!

We are so honored to have been featured on the BetterAfter blog this morning!  They featured the kitchen floor makeover and we are so honored.

Thursday, May 3, 2012

Don't give up on me!

I'm still here.  House projects, wedding season, shower planning, and an adorable 7 month old are keeping me away from the computer but I am still here.  I haven't had a chance to take final shots of the kitchen floor yet because I can't seem to find time to mop it :).  I will do that soon though I promise.

Wedding season is in full swing with some awesome weddings already completed.  I got a lovely review from a MOB today that made me feel good but at the same time I got an email from a bride who wants to discuss the quality of her peonies when she gets back from her honeymoon.  You can't win them all and unfortunately I can't control Mother Nature and some things (like quality of flowers) are out of my control.  I made it work in the end and think that the wedding turned out beautiful.  Enough on that...

My sisters adorable Birds and BEE themed shower is coming right along.  I made these adorable invites and the RSVP's are rolling in.  I can't wait to share all the details when it is all over.  Lots of projects and details to share.  Click HERE for a blank .pdf printable so you can use it for a shower or party you are throwing, all you have to do is add a text box.
And then there is my little Eli...more adorable everyday and more and more active as well.  He is crawling all over and we have yet to baby proof the house.  Need to seriously get on that!  We had some rough nights last week which is very unusual but then he found his stomach and all is well at night again, fingers crossed.
It's been really hectic around these parts and doesn't seem like it will slow down so I will try to keep up on my blogging as best I can.  There is so much to share but it seems like I can never find the time.

Friday, April 13, 2012

Kitchen Floor sneak peak

This is what I have been up to for the last 3 days...more details to follow soon.


Tuesday, March 20, 2012

Bed is done!

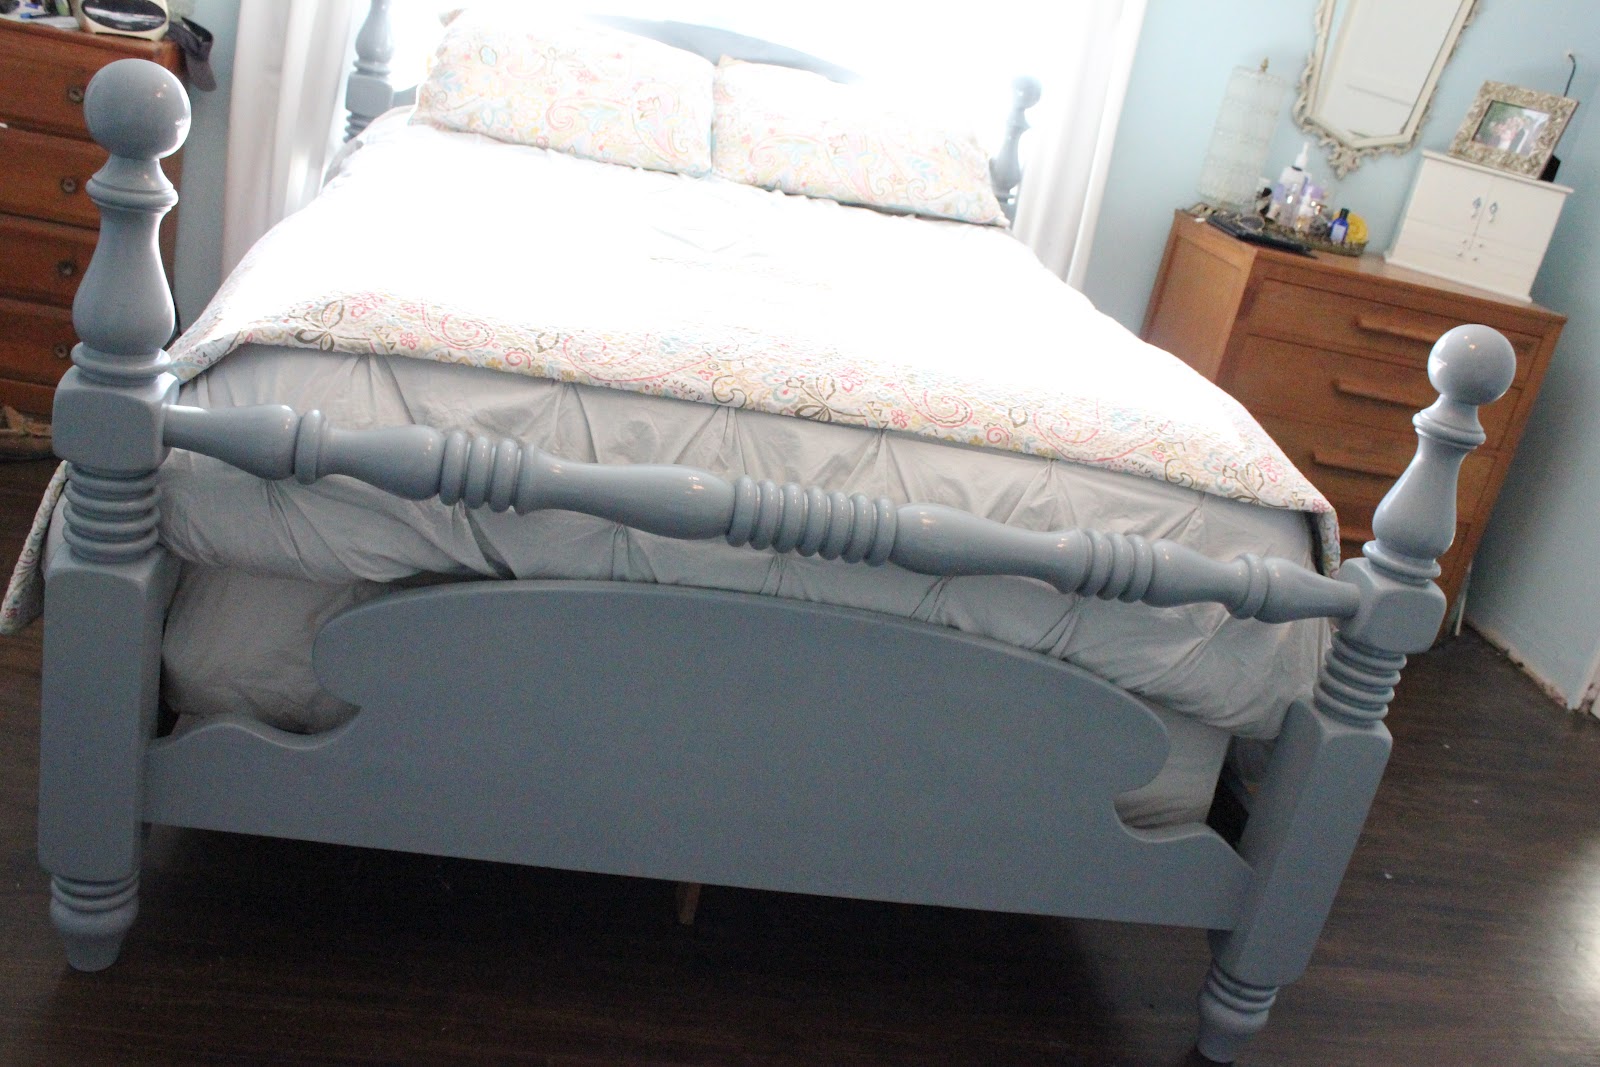
I got a chance to paint the bed I got from my grandparents last week and love the way it turned out.  My mom came over to see it and told me that if she had known it was going to be that cute, she would have kept it for herself :)...too late!

Here she is...


And just as a reminder, here is what she looked like before.

Now that the bed is in the room though, I am definitely going to forgo the idea of leaving the dressers the original color and I will be painting them white to match the gray blue bed a little better.  Also, I am not loving the color of my walls now but I will have to live with them because the thought of painting that room again makes me nauseous. 

I just love the bed, I love the details and the shape and the color.  Oh and as an added bonus, our bed is no longer on wheels so it doesn't roll all over the place making it hard to reach my phone or lamp, which I hated.  I LOVE it!

Project details:
1.  I lightly sanded the wood with a medium grit sanding block
2.  Wiped all the dust off
3.  Gave it 1 coat of Rust-Oleum’s Painter’s Touch Ultra Cover 2x gray primer
4.  Gave it 2 coats of Rust-Oleum’s Painter’s Touch Ultra Cover 2x in Winter Gray

Thursday, March 1, 2012

A little bit of Sunshine

My latest and greatest (completed) Pinterest inspired project is lamp re-vamps.  I was at a local thrift store this last weekend and found some gorgeous (but hideous) brass lamps for sale and knew they would be perfect painted yellow.  I snatched them up, brought them home and painted away.  Here is the process.

Here is what the lamp looked like before.
First, I took off the lamp shade (which I bought at Big Lots), then I wiped it down to remove dust.  Then I taped off the cord and top electrical part (the place where the light bulb goes) by putting both parts with plastic sandwich bags and then taping them shut and securing them with green Froggers tape. 
Next I gave it a good coat of Rust-Oleum Painters Touch Ultra Cover spray primer.
I let it dry for about 30 minutes and then gave it 2 coats (letting it dry 20 minutes in between coats) of Rust-Oleum Gloss Protective Enamel in Sunburst Yellow.
I let it dry in the sun for about an hour before I brought it in and added the lamp shade back on it.  The result was this!


I did 2 so here is the other one.
 Oh and in case you are wondering, here is a shot of the paint cans I used.
And now, a side by side.
 I love them!  They bring a smile to my face every time I pass by, and they are a much needed solution to our lack of lighting in the living room.

Tuesday, February 28, 2012

Just for fun...

A sneak peak at tomorrows project.  It includes my favorite color and I can't wait to share.


Friday, February 24, 2012

A NEW Bed!

In true form, instead of finishing my bedroom, I have decided to change my plans yet again.  When my Tata passed away last month my mom and her siblings decided to change out my grandmothers bed from her 4 post bed to a shorter bed frame since she is not so steady on her feet anymore.  They were going to donate the old bed that my grandparents had for (I assume) their whole married life.  I told my mom I wanted it and a few days later my dad dropped it by my house.

It is currently a dark brown that will not go in my room and that does not show off its true character and details.  I am thinking of painting it either a light gray or maybe a creamy white.  I was in the garage re-organizing the other day and decided to snap a few shots of it to share.  Please ignore all the saw dust, these were taken after we finished the footboard.


I love the round balls on the top of the posts and the rungs along the foot board.  I really need help on the color though....gray or creamy white???

Really looking forward to this project soon and I hope to always have this bed in our family.  I have many fond memories of hanging out on it, playing with my cousin and sister on it, and taking naps in this bed.  I am honored to have it.

Friday, February 10, 2012

Spring Wreath Tutorial

While Eli took a nap a few days ago and while Jeremiah was home, I snuck in a craft project.  I wanted to make a spring wreath and I had some stuff laying around (well mostly flower stuff in my flower studio) so I turned this lovely one out. 

Here is what I started with:
-round foam wreath form
-ribbon of various colors
-glue gun and glue sticks
-scraps of material
-felt
-bag of left over moss
-buttons
-craft bird and mini nest

Step1:
I wrapped the wreath with a light green ribbon so that if the moss didn't cover the entire wreath solidly then the color behind it would blend in.
As I went along wrapping I added a squirt of glue about every 2-3 inches
Then I was left with this

Step2:
Next I started gluing the moss to the front of the wreath  and was left with this. 

I decided that I was going to have to fill in the outside as well as the inside so I started gluing more.  The moss has its own shape so I just glued piece by piece and no order or fashion, just where it was needed.

Step3:
I glued the bird into the nest.
Step4: 
I made 4 flowers.  The largest fabric flowers is a tutorial from Jones Design Company here as well as the rolled fabric flower here
The other/ribbon flowers are just simple flowers I played around with till I found something I like.  For the orange flower the you tube video here best describes it and for the blue flower I just made 2 loops and cinched the middles and then glued one on top of the other.

Step5:
Decide placement of all the fun items

Step6:
Hang on the door and admire.


Hope you enjoy and have fun making your own.  Anyone else have fun wreaths they have made lately?

Wednesday, February 8, 2012

There was time for BASEBOARDS!

My lovely sister-in-law got the itch to finish our baseboards last week and so in one day we popped out the final pieces that made the entire house feel "finished".

Some "BEFORE's"


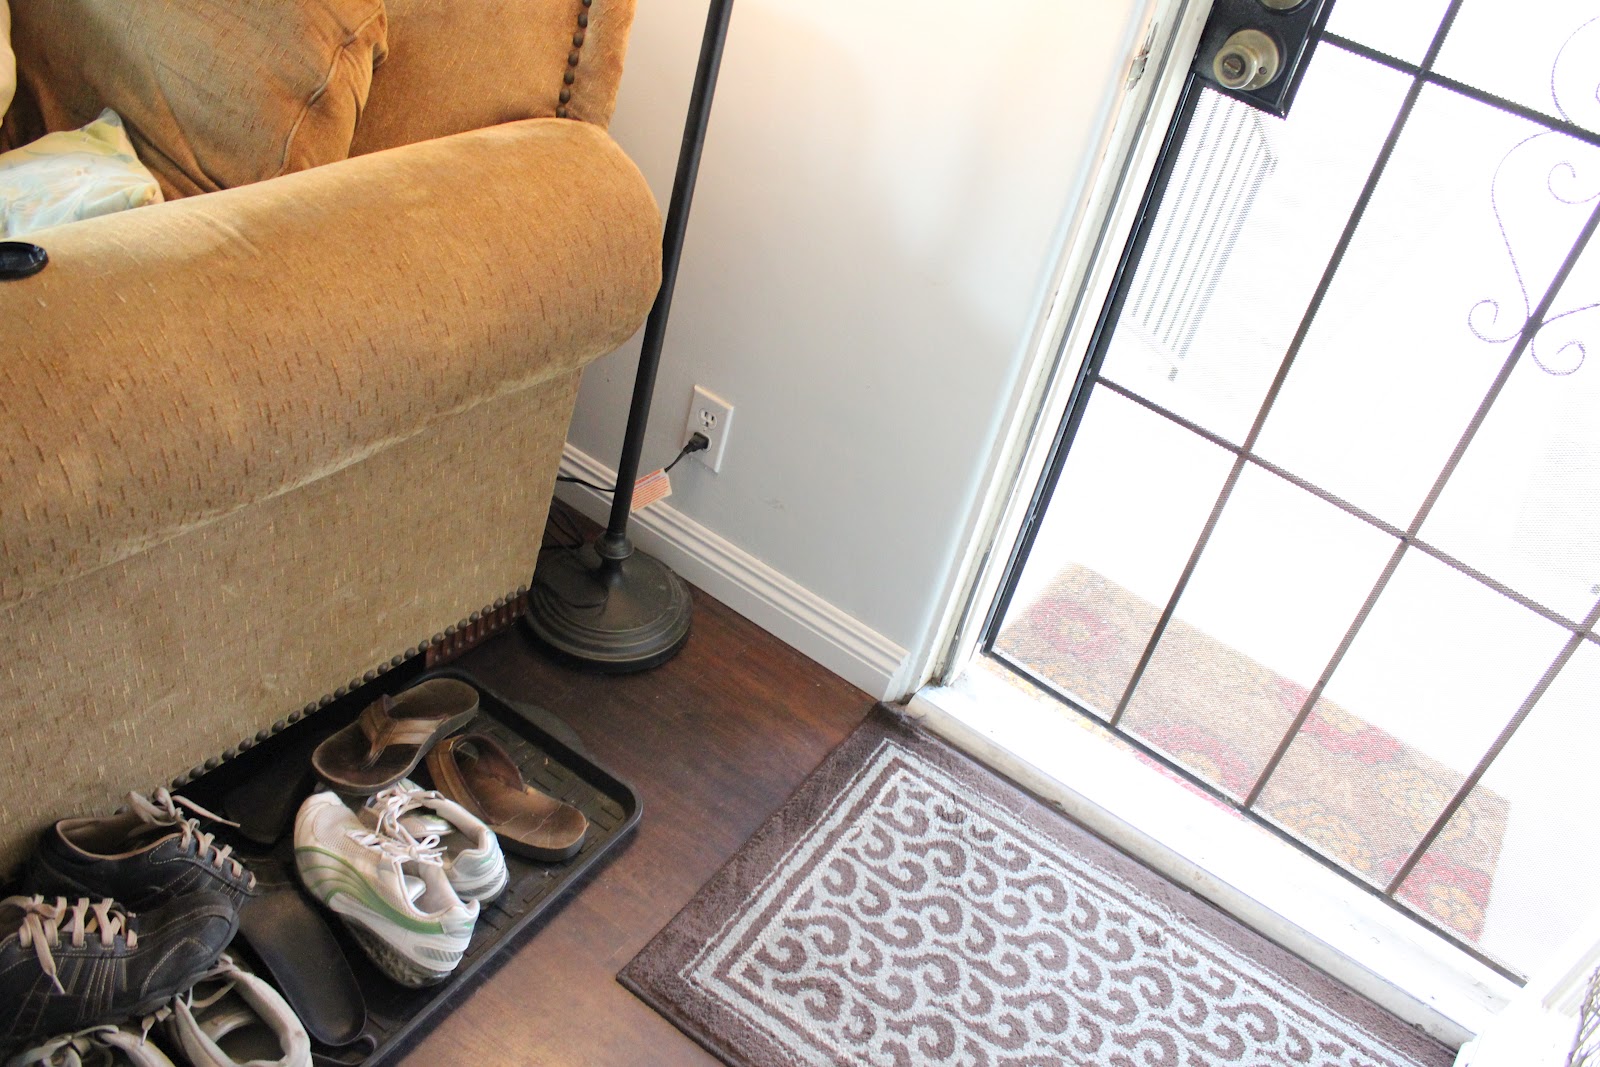
And some "AFTER's"


I love how finished the rooms look now.  Before it was a mess with the dark stain on the walls from when we were staining the floors and it drove me crazy but I could never get it together and finish that last little detail.  Thanks Jessica for finally making it happen :).

Tools used:
Table saw
Baseboards from Home Depot
White finishing nails
Countersink for the nails
High gloss white paint